
In the summer of 2018, when I first got the idea for this article, I remember I had just spent over $200 on film processing. Shooting film is much more rewarding to me than shooting digital, obviously, but I honestly needed to chill on the expenses. I still had no means of developing at home, and definitely no way to scan or print film. A compromise between my heart, head and wallet needed to be reached.
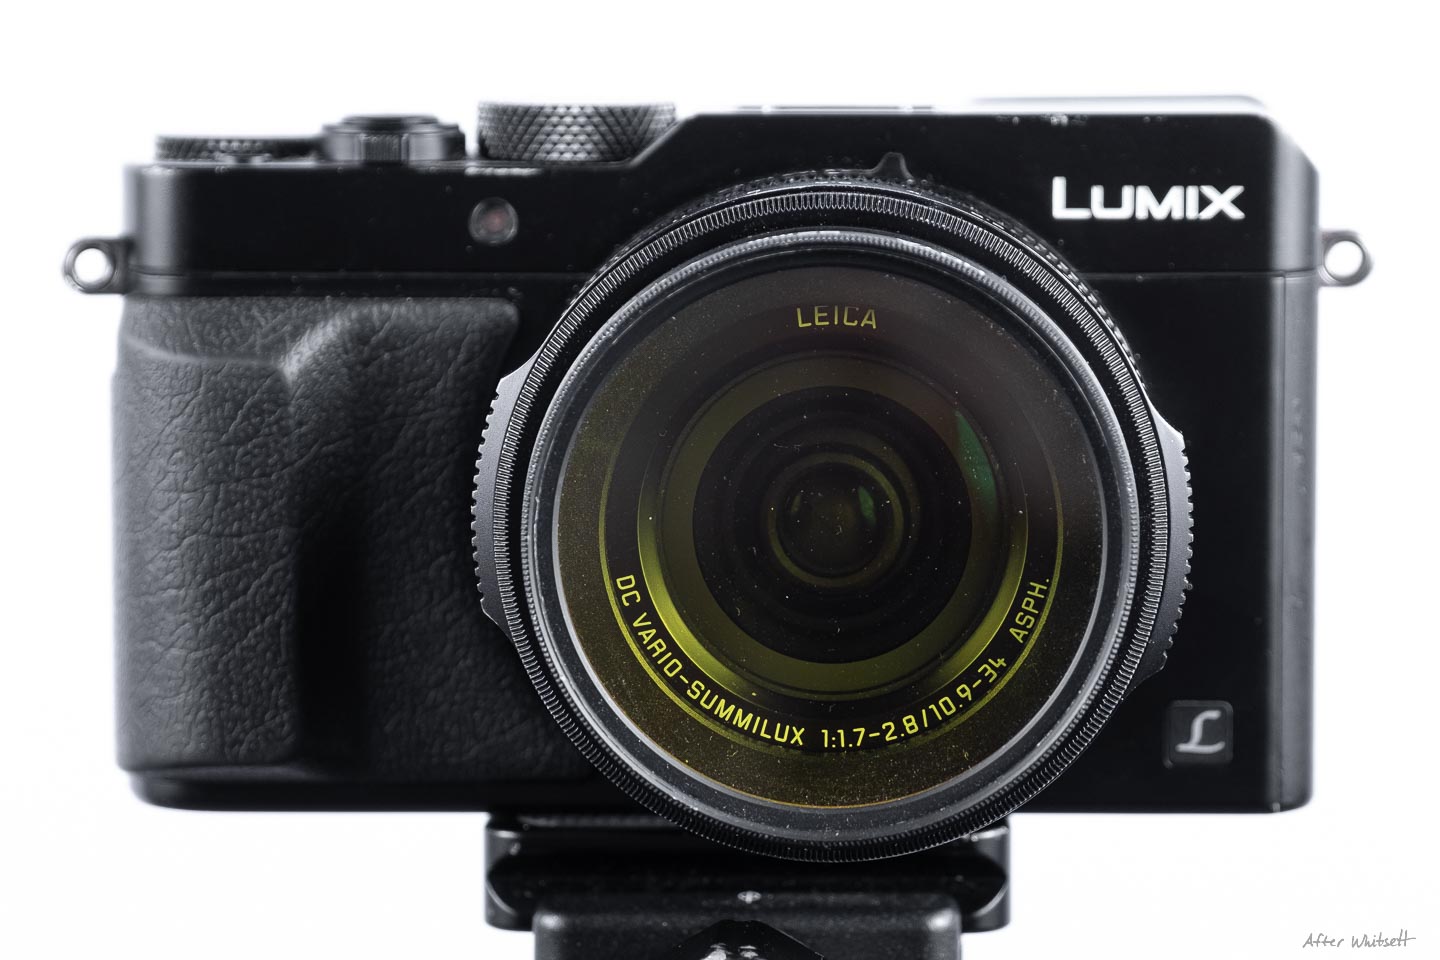
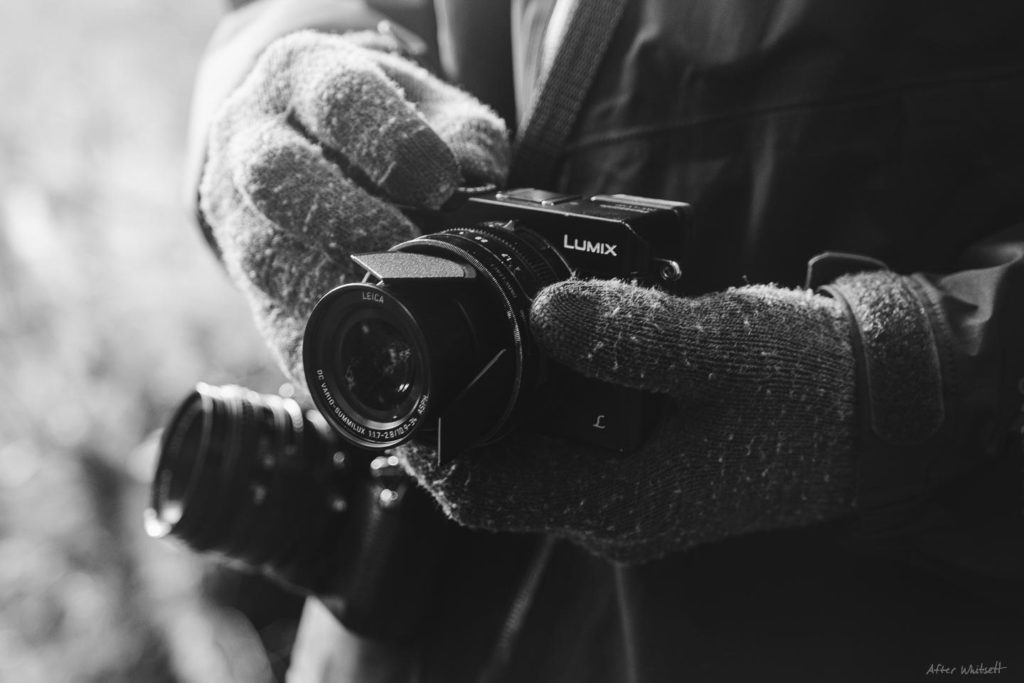
I picked up my digital camera, a Panasonic Lumix LX100, and stripped it of as many digital photography conveniences as I possibly could. I wanted to make it behave like an analog camera, even if it didn’t overtly feel like one. Most photographers out there probably agree – disabling these features would hinder my ability to take good photos with it. My camera would be needlessly “crippled.” That’s possibly true to some extent for the pixel-peeping crowd, but I don’t care, and I don’t think you should either. In fact, I encourage everyone to cripple their digital cameras at least once. I intend to leave mine like this for some time!
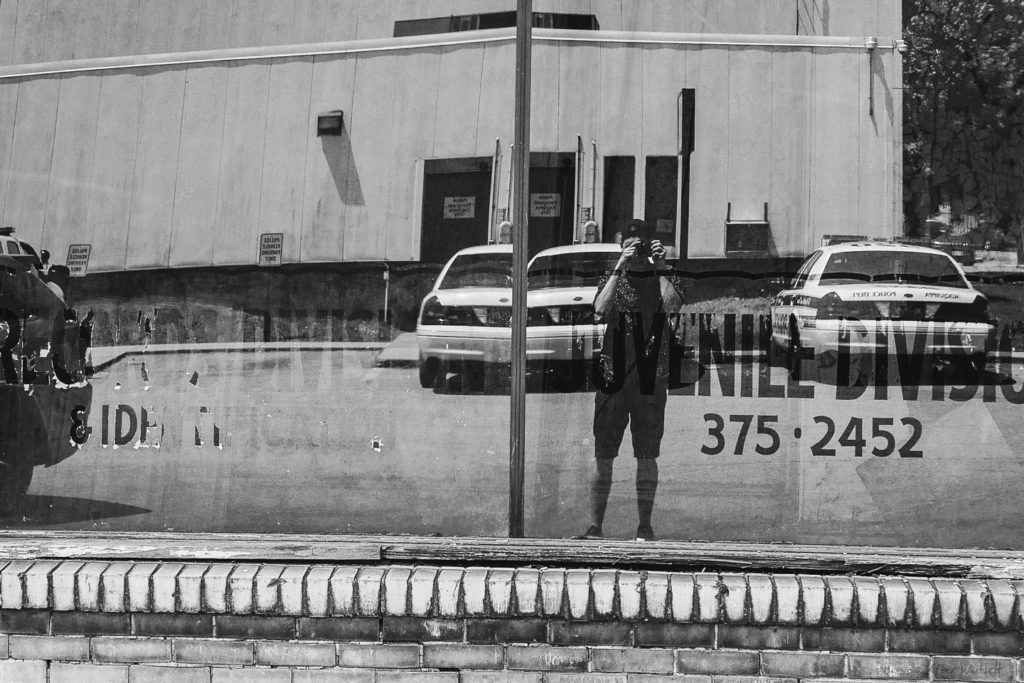
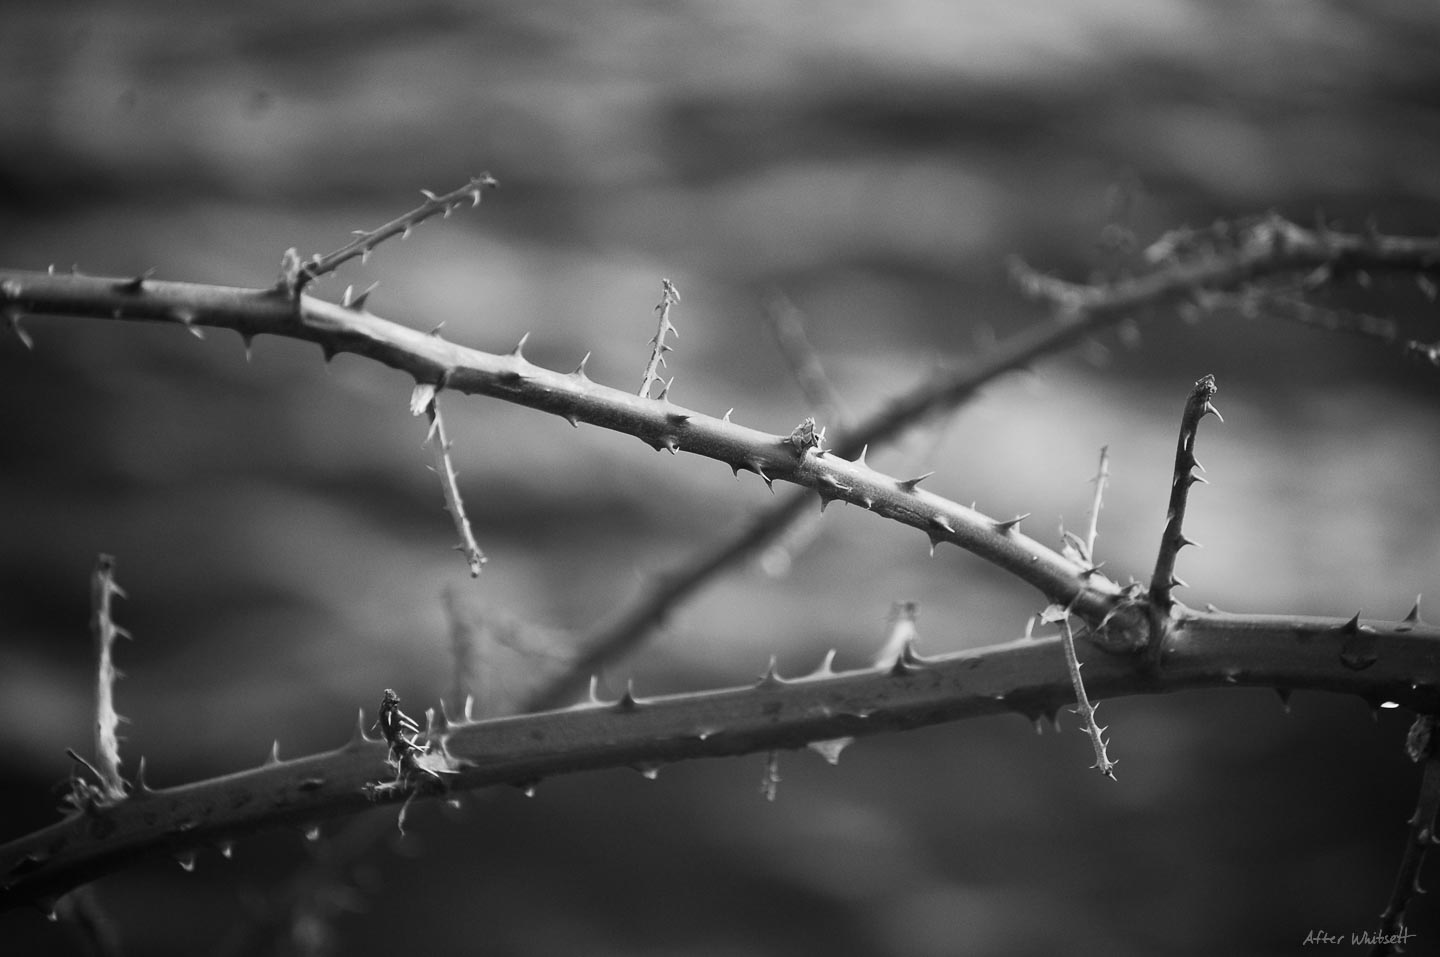
The first photo I took on my journey toward analogifying my camera.
Why should anyone waste their time doing this?
- Save money.
- Be more present. You won’t be reviewing images or staring at an LCD screen.
- Practice. For film newcomers, this could break down the barriers of intimidation and cost of shooting film. An analog “trial run” of sorts.
- Become a more skilled photographer by finding creative workarounds to the new limitations of your gear.
- Have fun!
Most of these reasons applied directly to me. If you’re reading this and want to try shooting film, go straight for it. But if you’re a little intimidated, analogifying your digital camera first could give you a confidence boost and practice to make your first foray successful. It’s a completely consequence free experiment, and even if you’re a film veteran that doesn’t have much to learn, you WILL have more fun with your camera, especially considering you’ll spend less time reviewing your images right after their capture. Seeing them for the first time when you boot up Lightroom, while not even close to the thrill of seeing developed film for the first time, still provides a slight rush.

Analogifying Your Digital Camera
First, get your mind in the right space. This is a fun exercise. With the right attitude, the limitations of shooting film can be interpreted as fun. No? Maybe? Moving on, do not expect to take amazing, perfect photos you always do. Let go.
Your digital camera will be a memory maker – nothing more. However, there will be a chance for that fleeting serendipity again in your photography! Your photos might just surprise you with their quality after the fact. Importantly and ideally, you won’t be looking at them until you get home.
Lower your expectations and don’t worry.
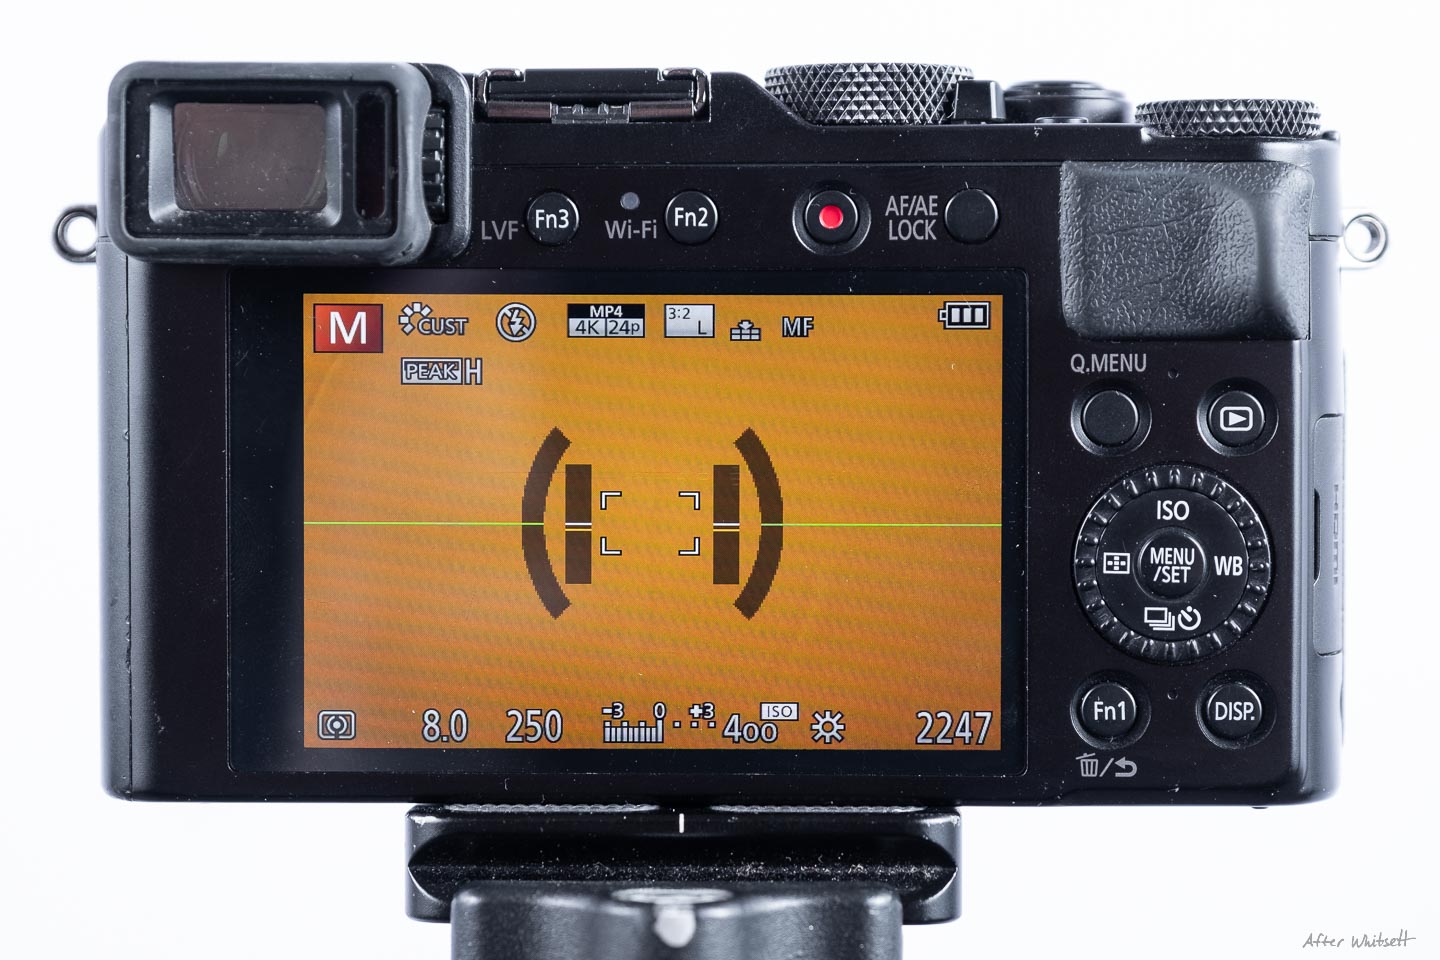
Now, let’s start turning some “features” off. Every camera is different and some might not have the ability to toggle all of these off, which is just fine. This is for fun anyway! I’ve organized these suggestions into ascending difficulty levels, with higher difficulty levels having more features disabled. Each difficulty level requires all of the previous levels’ adjustments as well.
Easy Mode
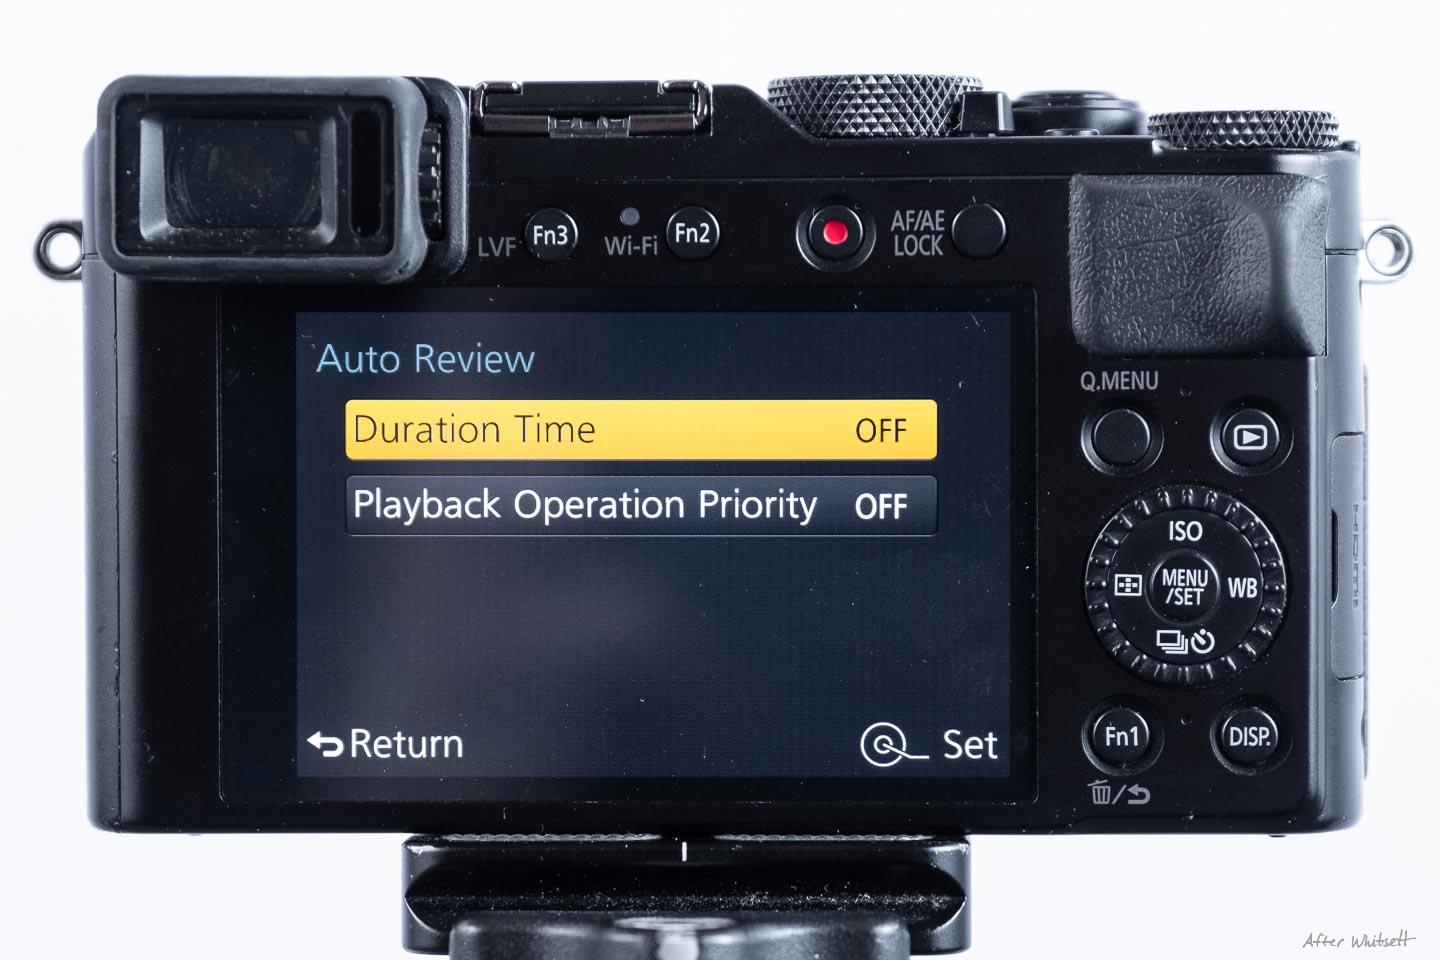
- Image review OFF
- Auto ISO OFF
- Turn Drive Mode to SINGLE
- Shoot in aperture or shutter priority mode only – program mode isn’t allowed. In other words, shoot in “A” or “S” mode.
- Any adjustments to the final image can be made in post.

Medium Difficulty
- Disable RAW shooting, and shoot in black and white JPG only.
- Adjust only brightness and contrast in post, just as if you were making a darkroom print.


Hard Mode
- Autofocus OFF or shoot with a vintage, manual focus lens.
- Shoot in Manual mode only – aperture and shutter priority mode are no longer allowed.


Now that you’ve picked a difficulty level and made your adjustments, let’s address the hardware of the camera, starting with the most obvious: the LCD screen. It is mandatory not to use this screen for the duration of the exercise. If your screen swivels, turn it around so it faces the back of your camera and tape it in place with electrical or gaffer tape. If your screen doesn’t move, tape a cover of construction paper over it.
Ideally, you’ll pick a difficulty level above and stick to it for a while, as you might need your LCD screen to make some of the suggested adjustments.


“Is it really necessary to go as far as taping my camera?”
For the sake of making this exercise as pure as it can be without just shooting the real thing – definitely. Even with the back of my camera taped, I still found myself occasionally reviewing images in the electronic viewfinder. I would later eliminate this temptation fully by shooting on a DSLR with an optical viewfinder that isn’t capable of displaying images.
My Results
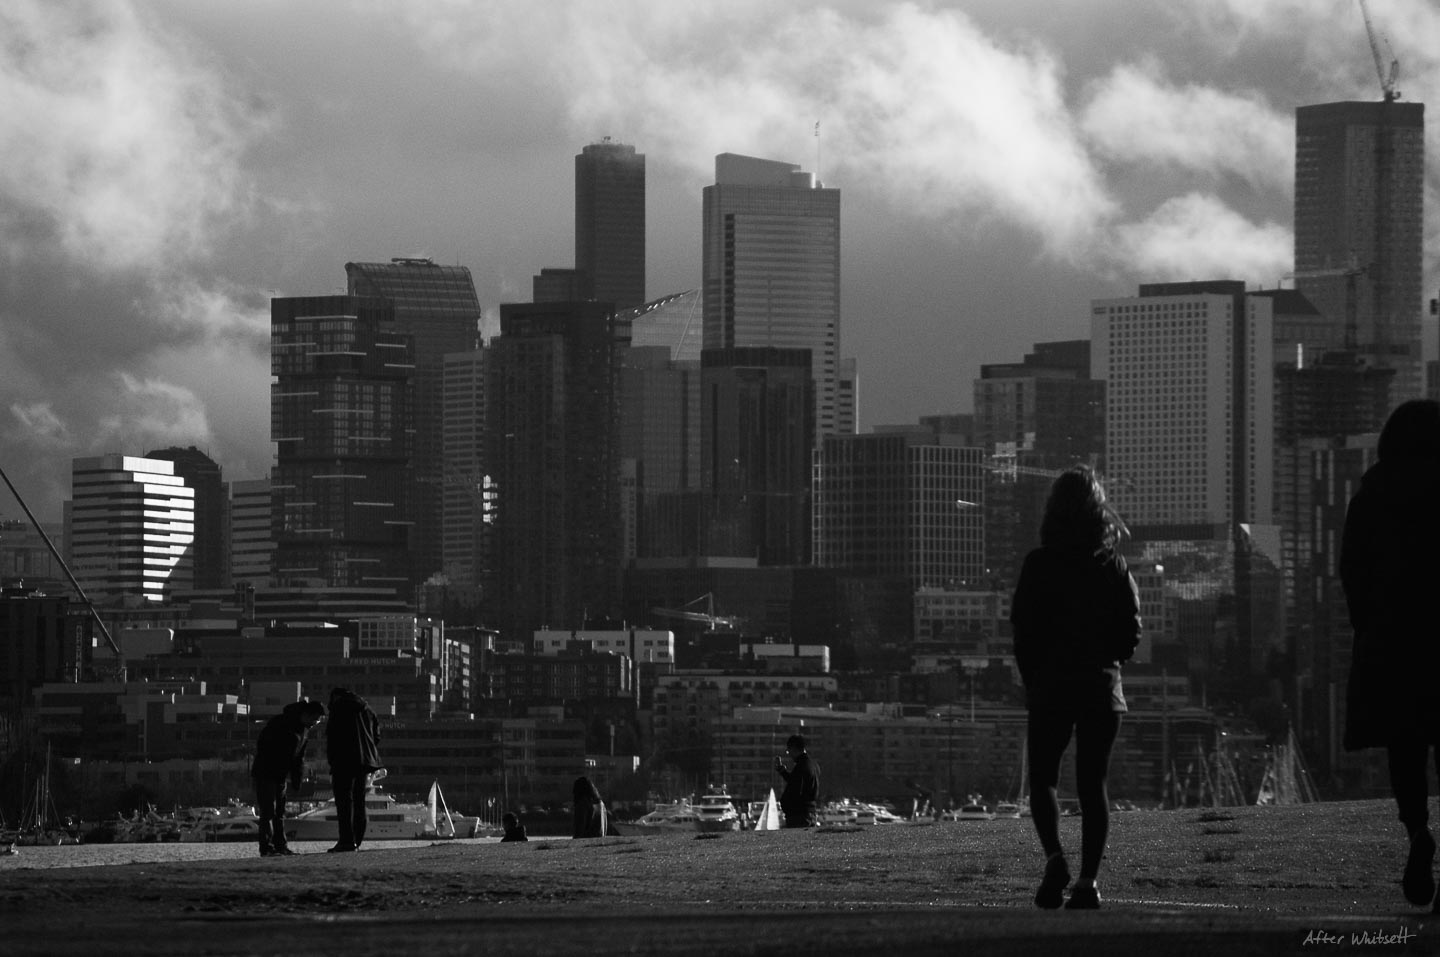
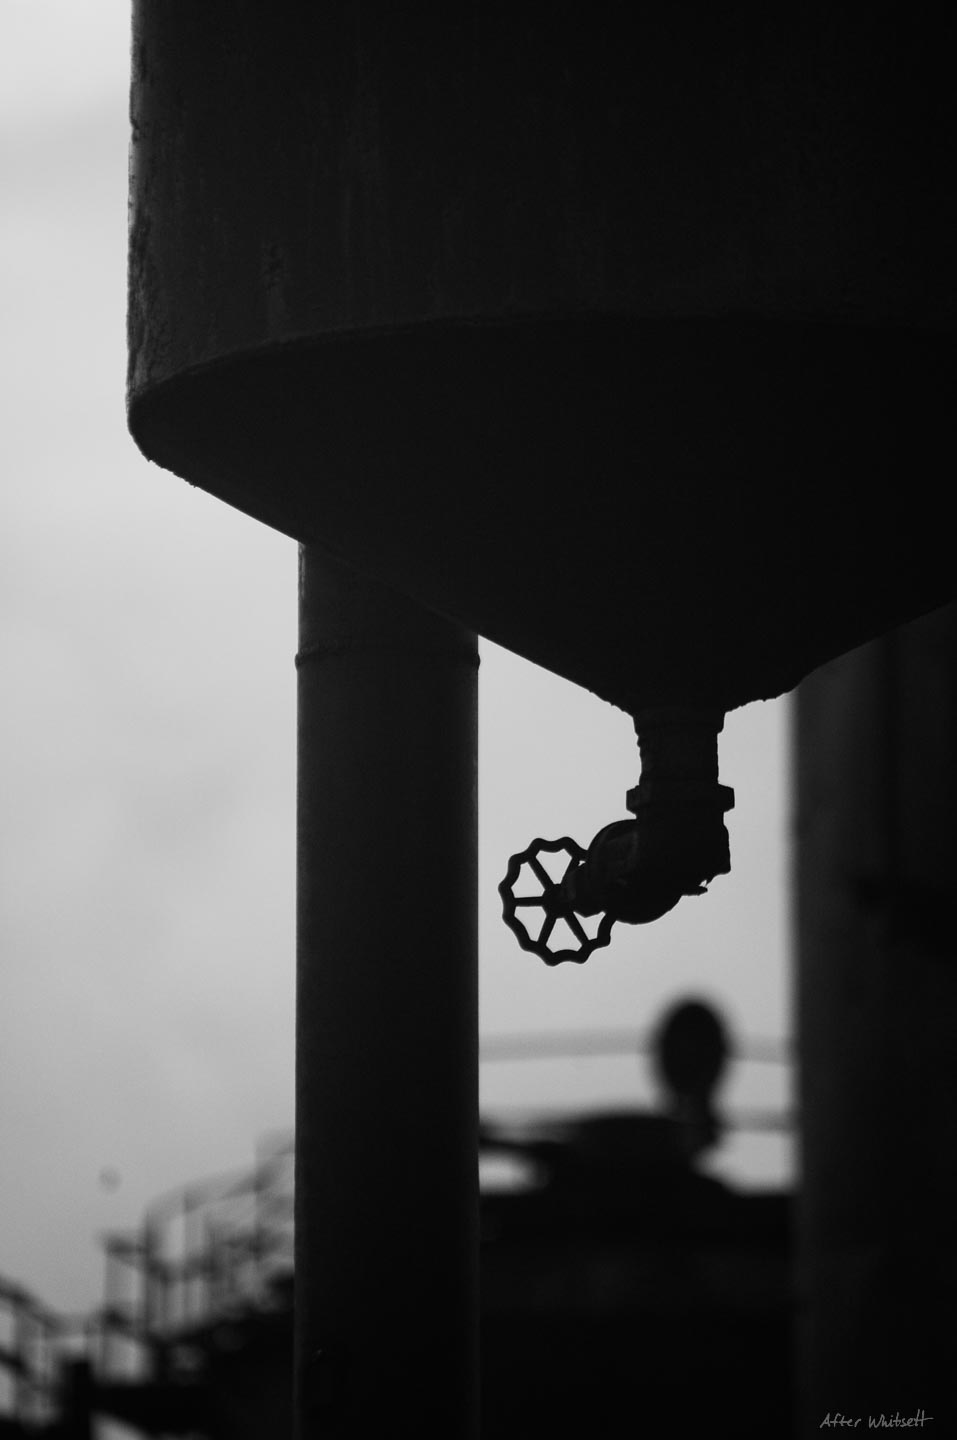
I’ve been shooting for this article and developing the difficulty levels for over a year now, and I’m pleased to share the results! I adhered to all of the post-processing specifications of each difficulty level as well. Click an image to view the gallery. The difficulty level is listed below each of the images. The first set contains photos from Easy and Medium difficulty.


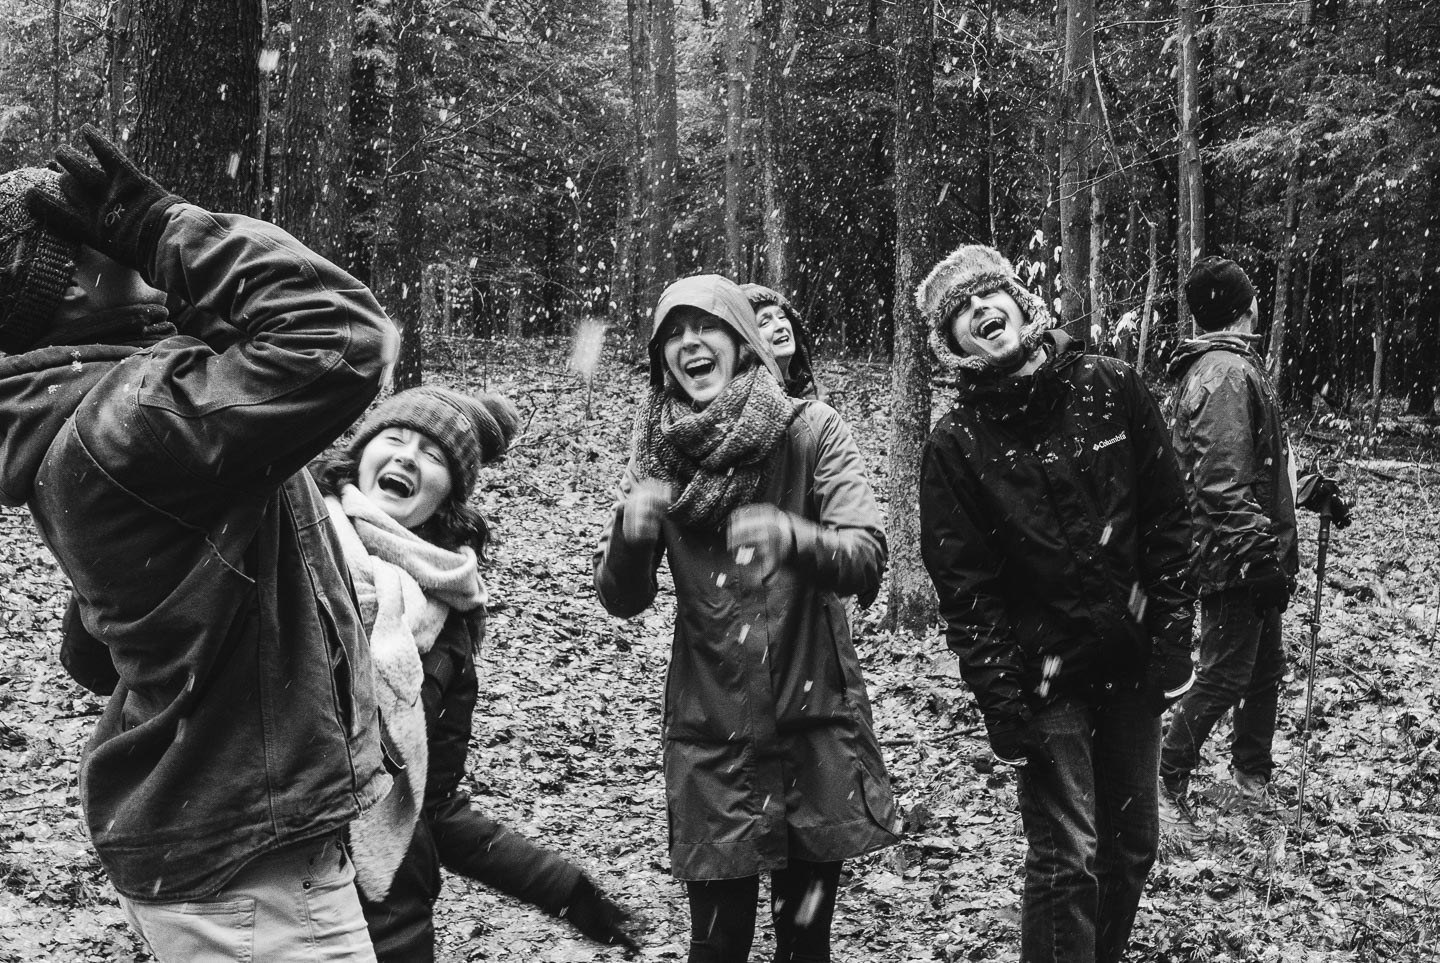

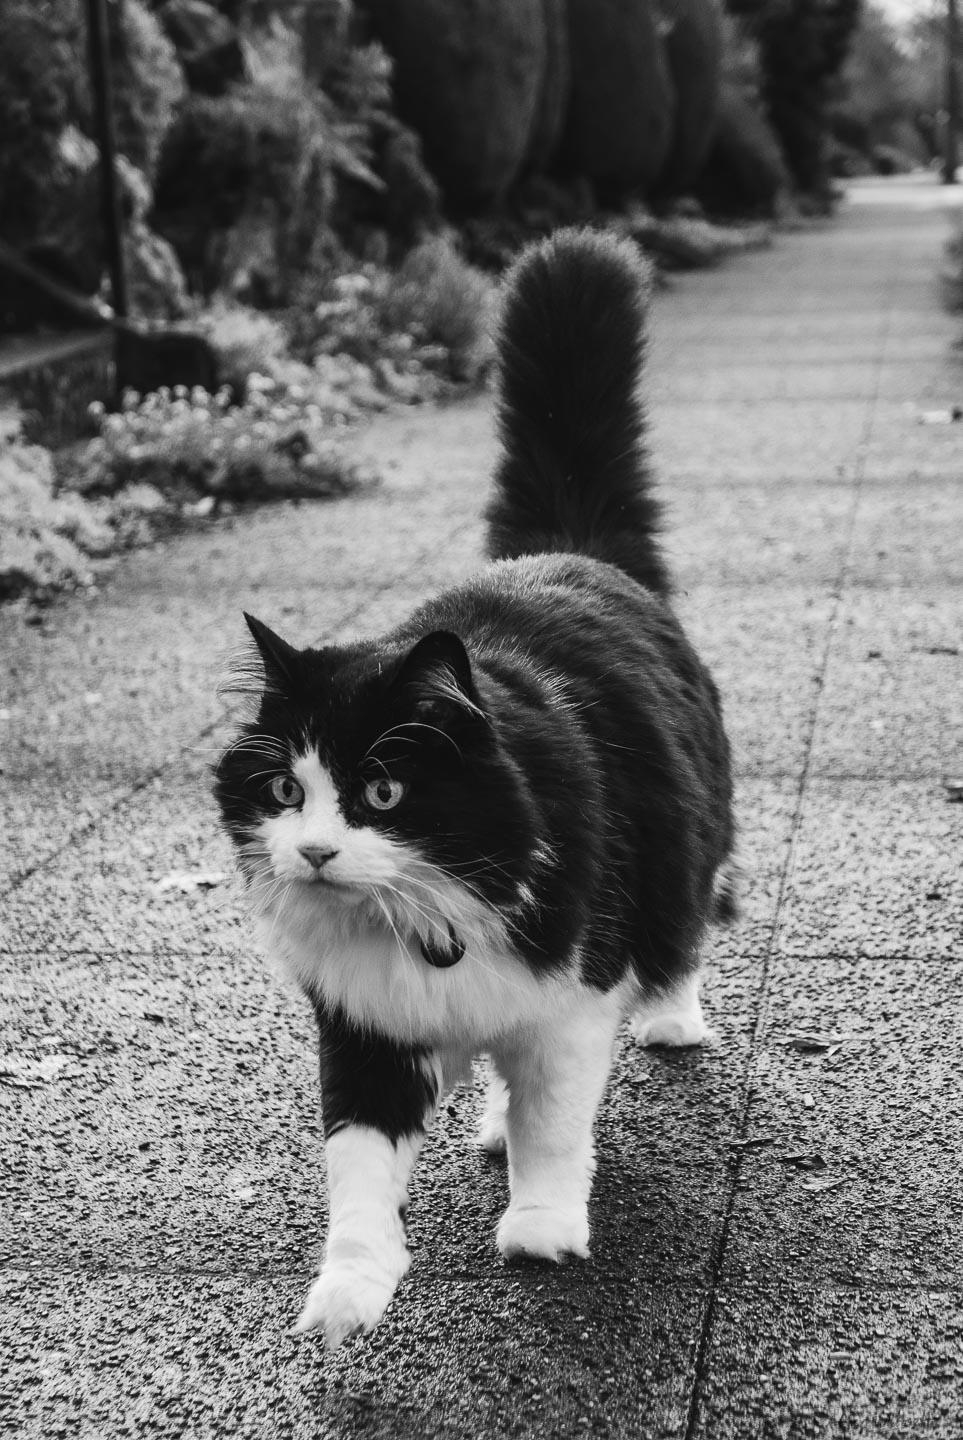


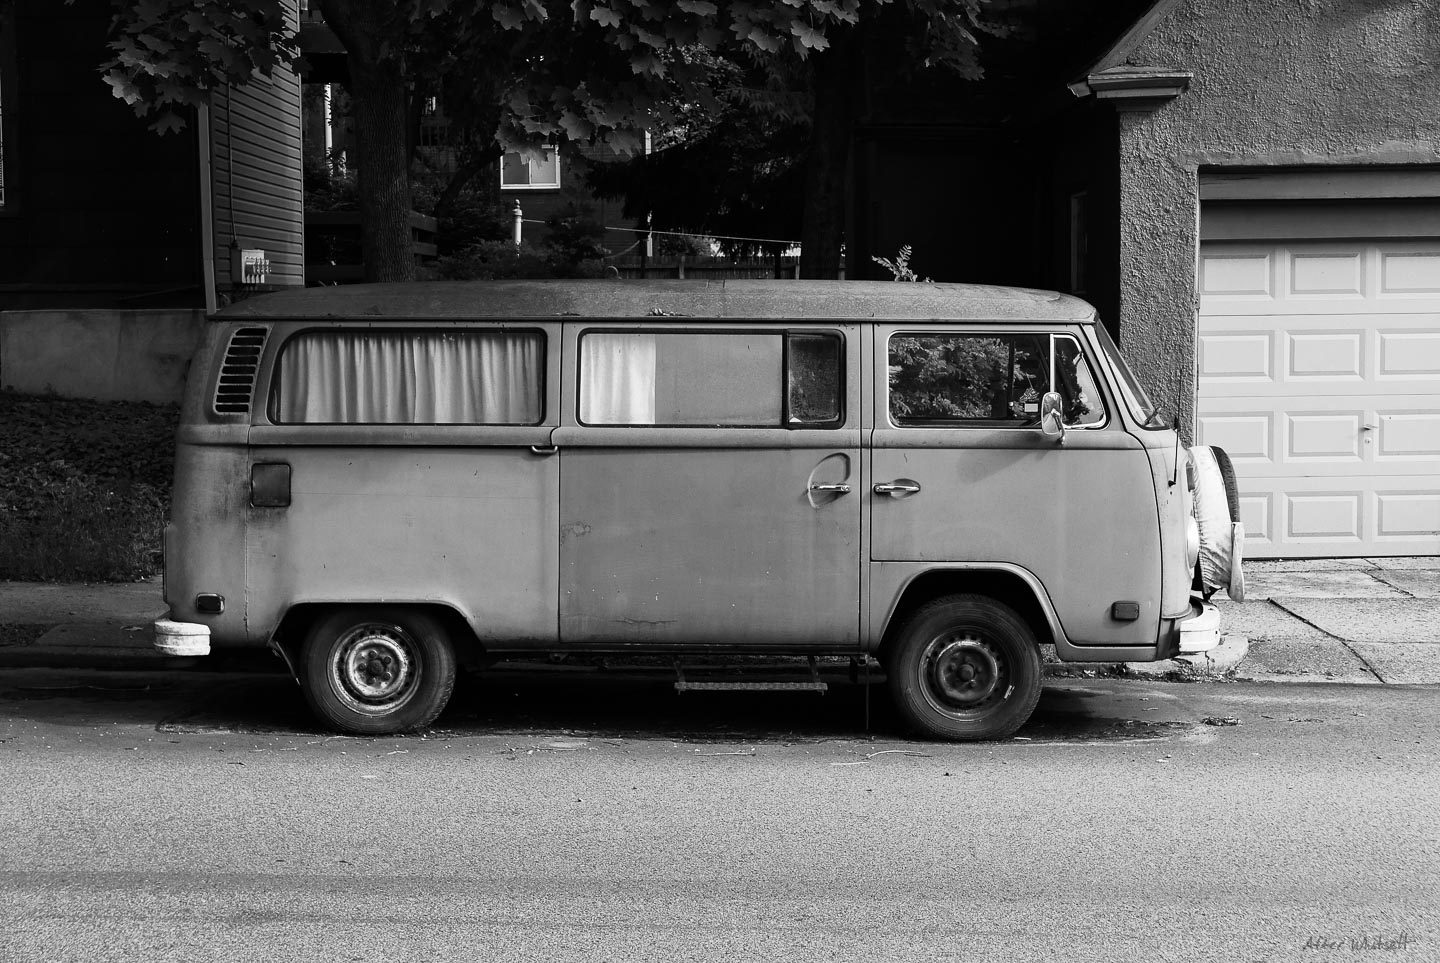
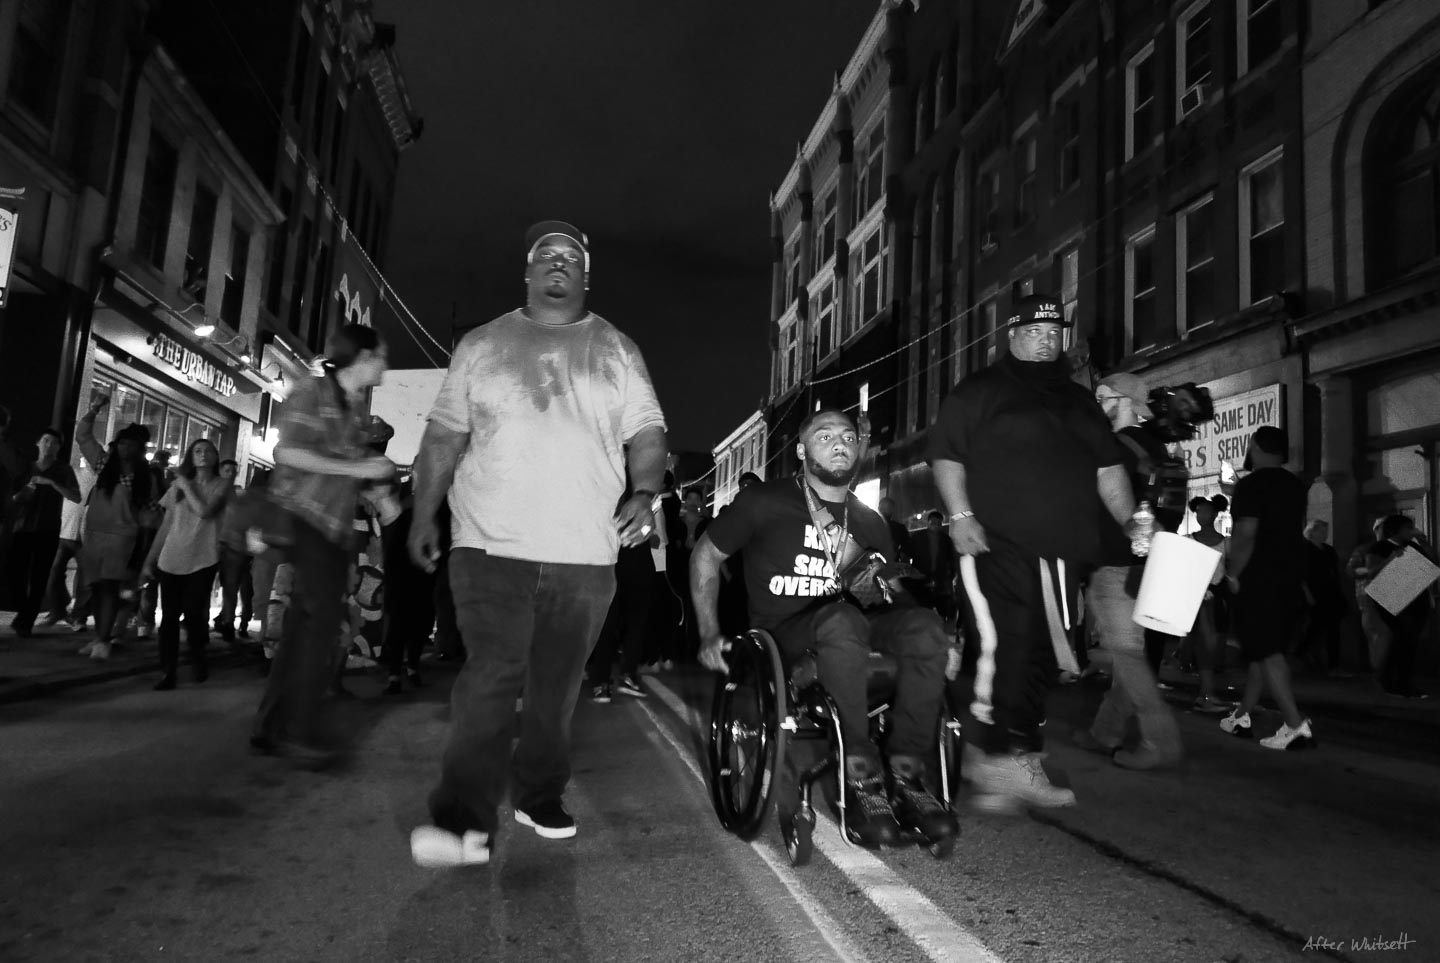


I’m most happy with my Hard Mode results, but the biggest drag was shooting on manual focus with the LX100’s tiny focus ring. I eventually shot a few images on Maura’s old 6.1 megapixel Nikon D40, which I loved. Shooting on the D40 for this exercise was great, because it’s a DSLR with a purely optical finder, and therefore you can’t review the images if the LCD screen is covered. Each image is labeled indicating which camera shot it.


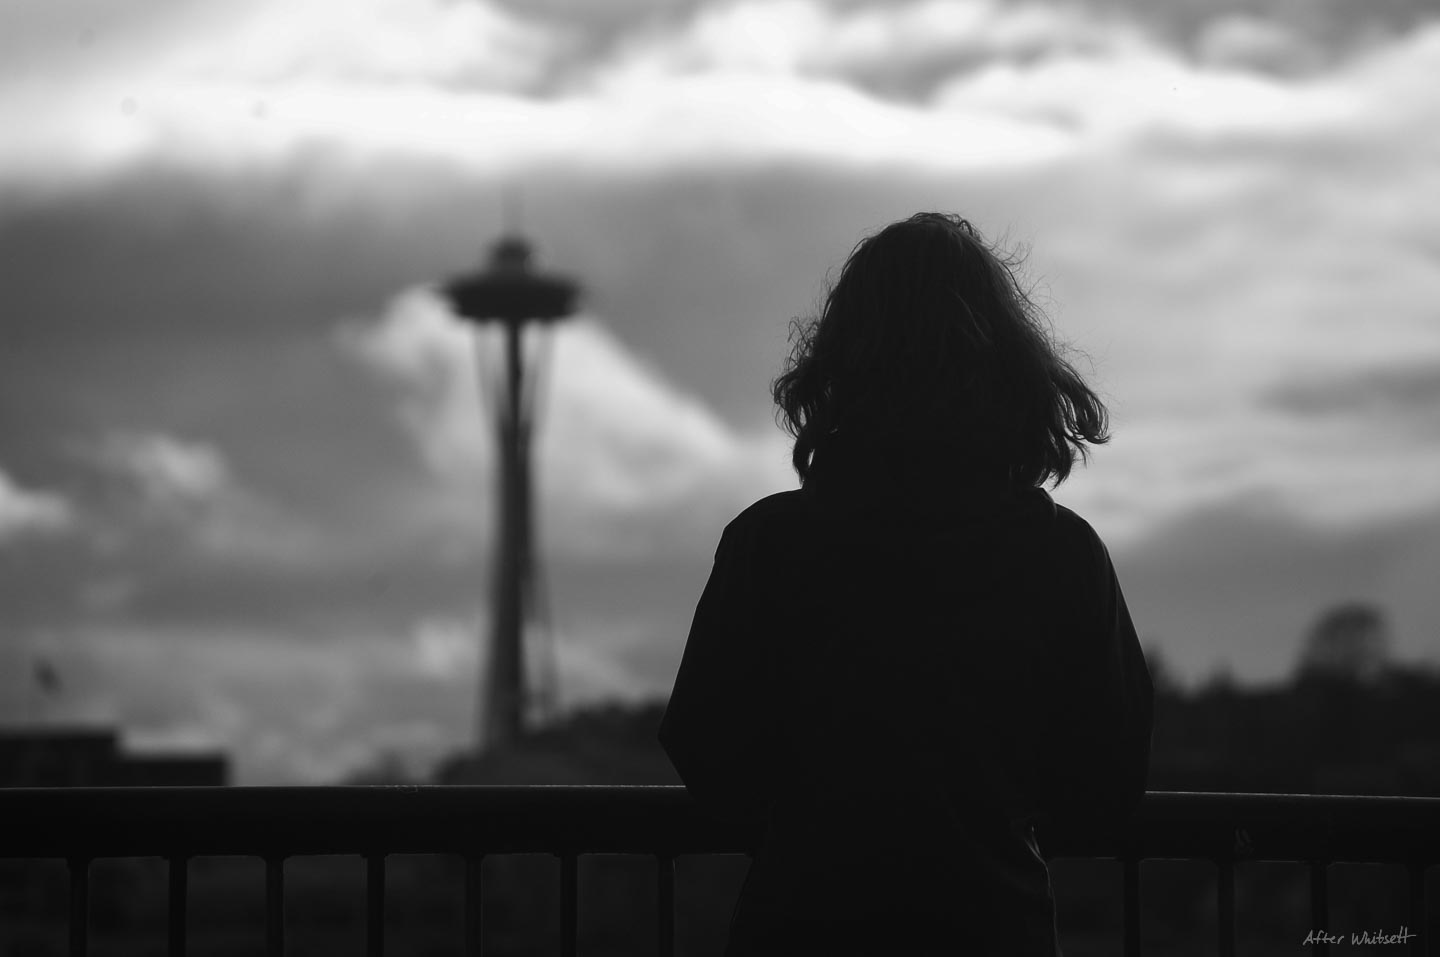


 I was absolutely stunned at the results a 6.1mp camera can produce! It goes to show that even when hampered with this absurd exercise and a very old digital camera, I still got photos that I am happy with. There were a few shots that didn’t come out perfectly sharp, most likely due to manual focusing issues. Thankfully, you probably didn’t notice, and likely nobody will notice your misfires. As you can see, the image is slightly soft when viewing at 100%.
But there’s more… What if I told you I devised an even more difficult mode than just plain Hard Mode?
What if there was a version of this exercise that was so absurd, you’d be silly to try it? There is.

![]()
- Only leave enough space on your SD card for 36 shots.
I actually did this. Like Doom’s original Nightmare difficulty warning, it isn’t even remotely fair. It’s tedious, but it can be achieved with an ancient 256mb SD card (easily sourced from shopgoodwill.com), or by just adding enough large files to a junk folder within your formatted SD card. I chose the latter, and am actually going to give this a test run on my next hike.
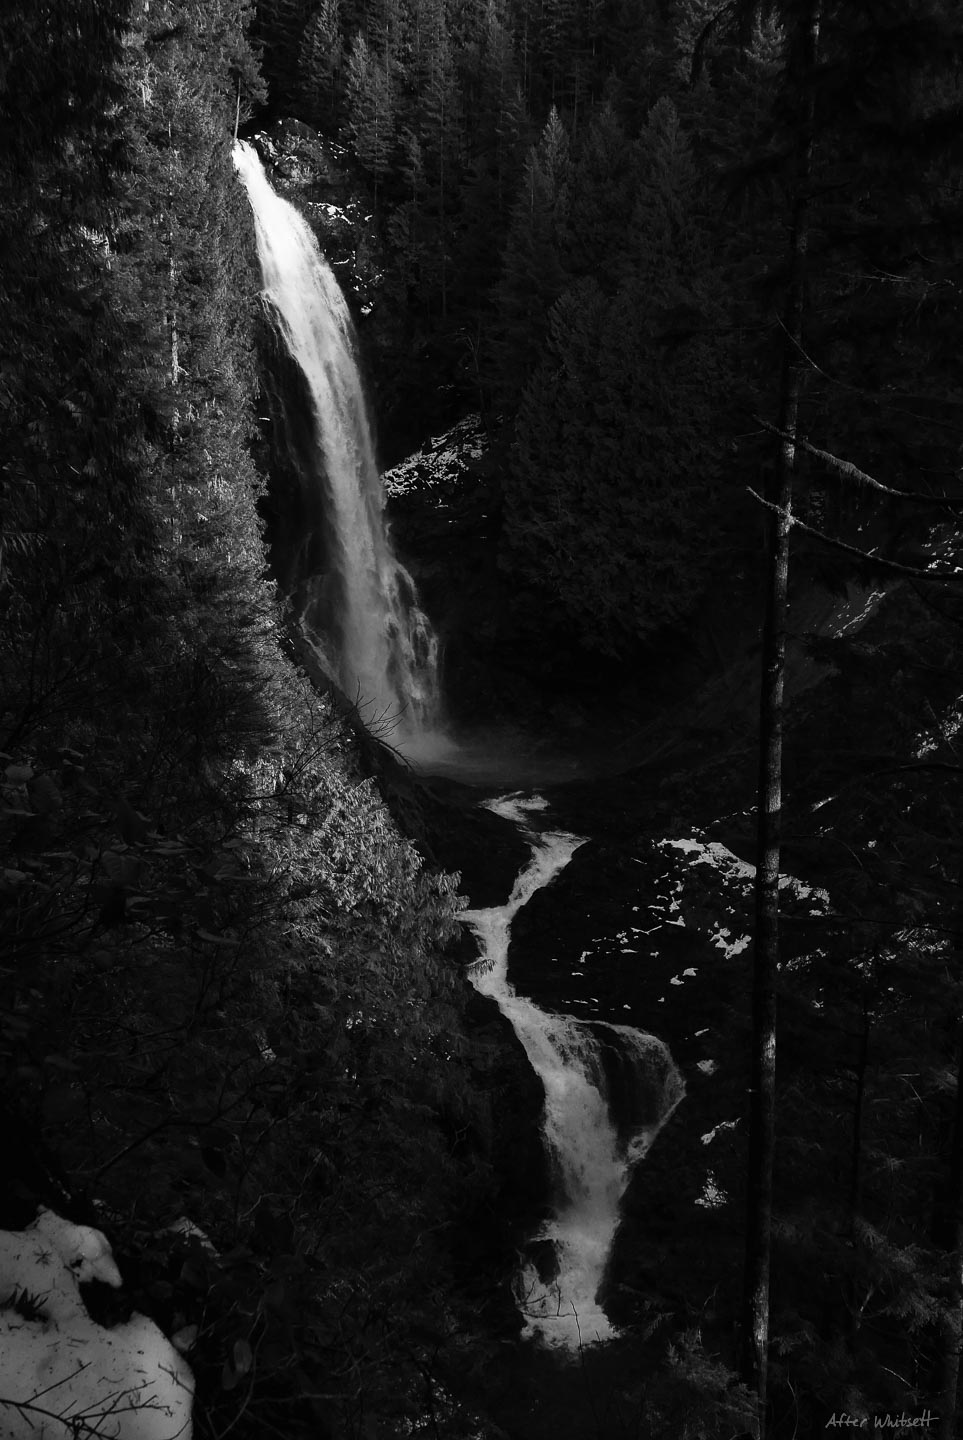
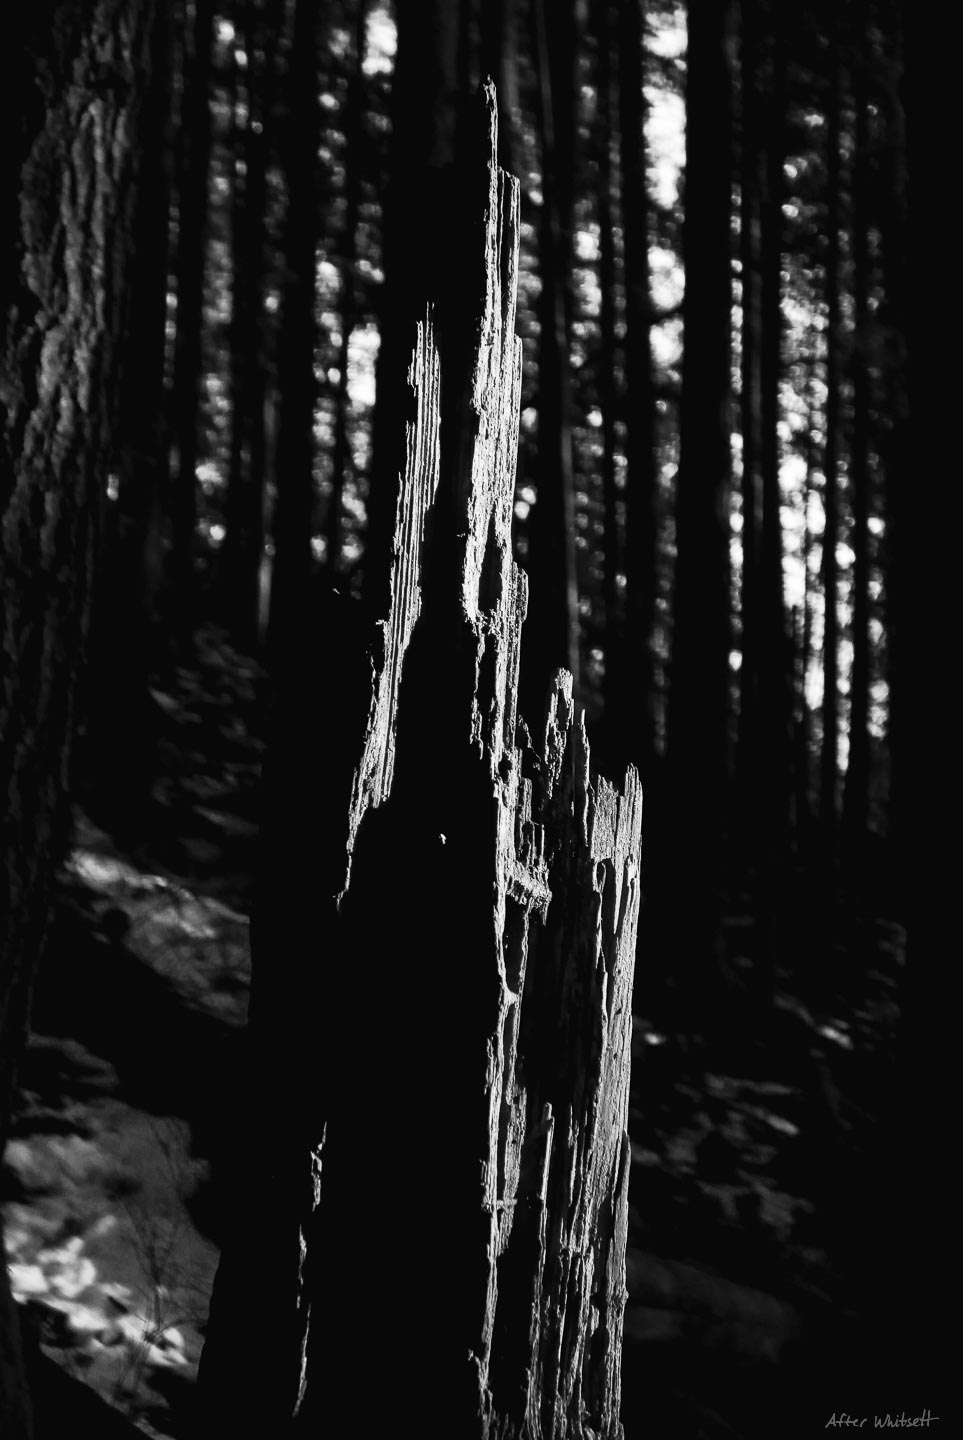
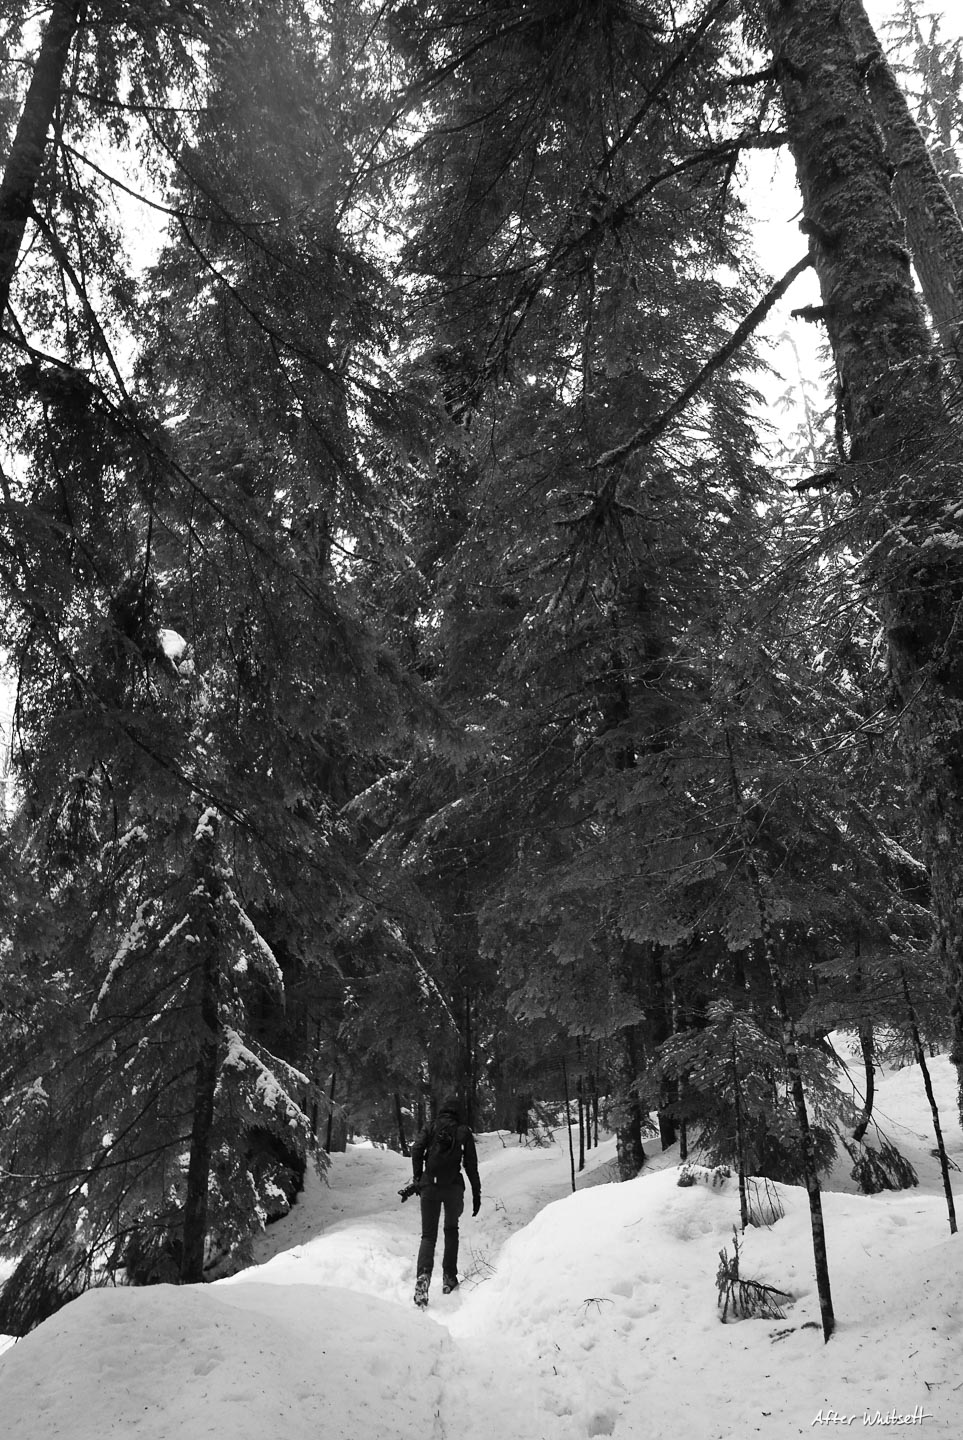
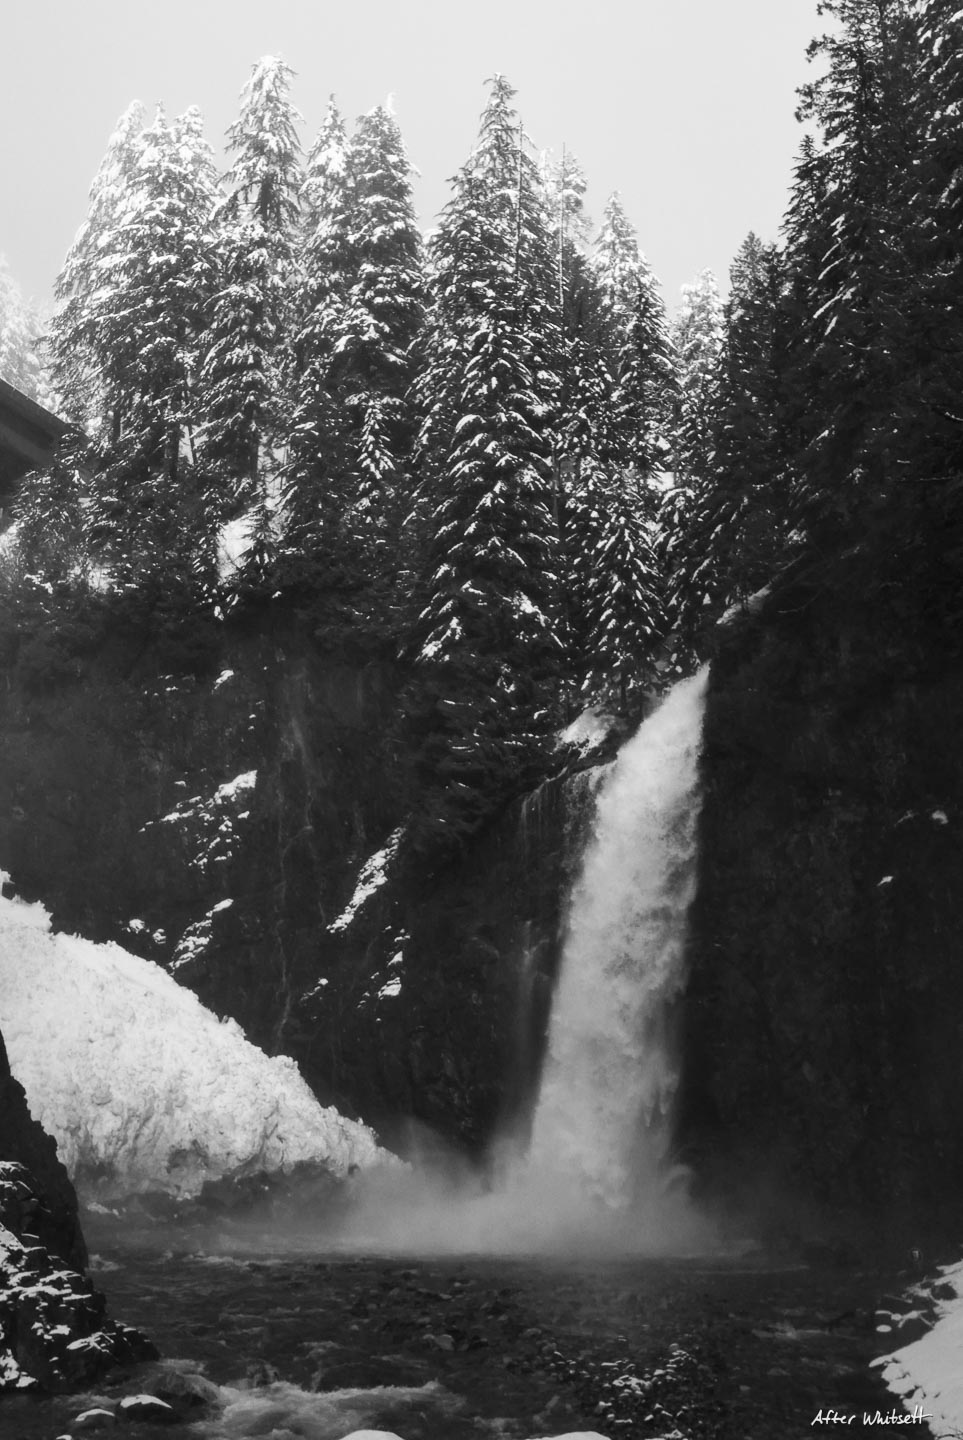
Update: Nightmare Mode Results
Maura and I took a winter hike to Franklin Falls, and I actually only ended up shooting 8 of the 36 images. Here are the results (of course following all prior post-processing rules).


Recent gear history shows that there is at least some kind of customer demand for “analog-ish” cameras.
There are actually several camera manufacturers recognizing that more people are returning to film photography, and recently, a few are even making digital cameras that look and feel analog. Leica has been doing this for a very long time with their line of digital rangefinders. Taking it a step further, they just announced the stunning, but absurdly priced Leica M10 Monochrom. It’s got basically everything I’d be looking for for this experiment: Optical rangefinder, easily coverable LCD screen, shoots in monochrome only, manual focus only lenses, and the look and feel of an analog camera. However, at over $8k for the body alone, it renders reason #1 above (save money) completely meaningless.
Fujifilm’s digital cameras are nothing short of gorgeous, and definitely nail the analog aesthetic with all of their physical dials on top, which are also preferred by me for practical reasons. With the release of their new X-Pro3, they even gave their LCD screen the ability to flip around, exposing a faux film slot like the ones on old film cameras. I really love the X-Pro series, especially the X-Pro3, because they’re encouraging the user to use the viewfinder more, and spend less time just looking at a screen all day. The photographer is encouraged to be more connected to the camera, to “spray and pray” less. In other words, to make photography about taking pictures again, instead of worrying about perfection in dynamic range, pixel-peeping, etc.
There’s also the gorgeous, new Zeiss ZX1, whose design and aesthetics are both futuristic and retro in their purity. Nikon’s jaw-dropping Df seems to be the most realized of this concept, and one I would absolutely die for. It would be the ultimate camera for this exercise – it’s natively compatible with tons of vintage Nikon lenses, has all physical control dials, and most importantly, an optical-only finder. Cameras with electronic viewfinders, like my own, still make it possible to review images in the field. I’ve found that if the temptation is there, I can only resist for so long. I’d love the purity of a Df with a covered LCD.
Not all recent attempts have been good though. The Yashica name has been bastardized in a ridiculous scheme to capitalize on nostalgia, somehow successfully on Kickstarter, with the Y35 “Digifilm” camera. Casual Photophile and many others have dissected this atrocity sufficiently, but I actually think the camera just implements some solid ideas poorly.
Camera manufacturers, here’s what I’m asking for:
Give me an interchangeable lens digital camera with no LCD screen, and an optical-only viewfinder or rangefinder. The sensor could be under 10mp – I don’t care, as resolution is overrated anyway. Both of these limitations would drive down the cost of the camera. It could even be ideal if it was monochrome only, like Leica’s, or I could even send it to be converted to monochrome. As far as lens mounts go, with current mirrorless technology, it could be anything. But I’d like a Leica M mount for a rangefinder or Minolta MD mount if it was an SLR type camera.
I’ll take this pitch even further for you, Sony. Make this camera with your old, sub 10mp sensors laying around, give it a sturdy body with physical control dials and then brand it as a Minolta. Sony, you acquired Minolta’s camera manufacturing capital (and brand as well?) in 2006, there’s no excuse to not revive my favorite film camera brand! It’s a no-brainer!
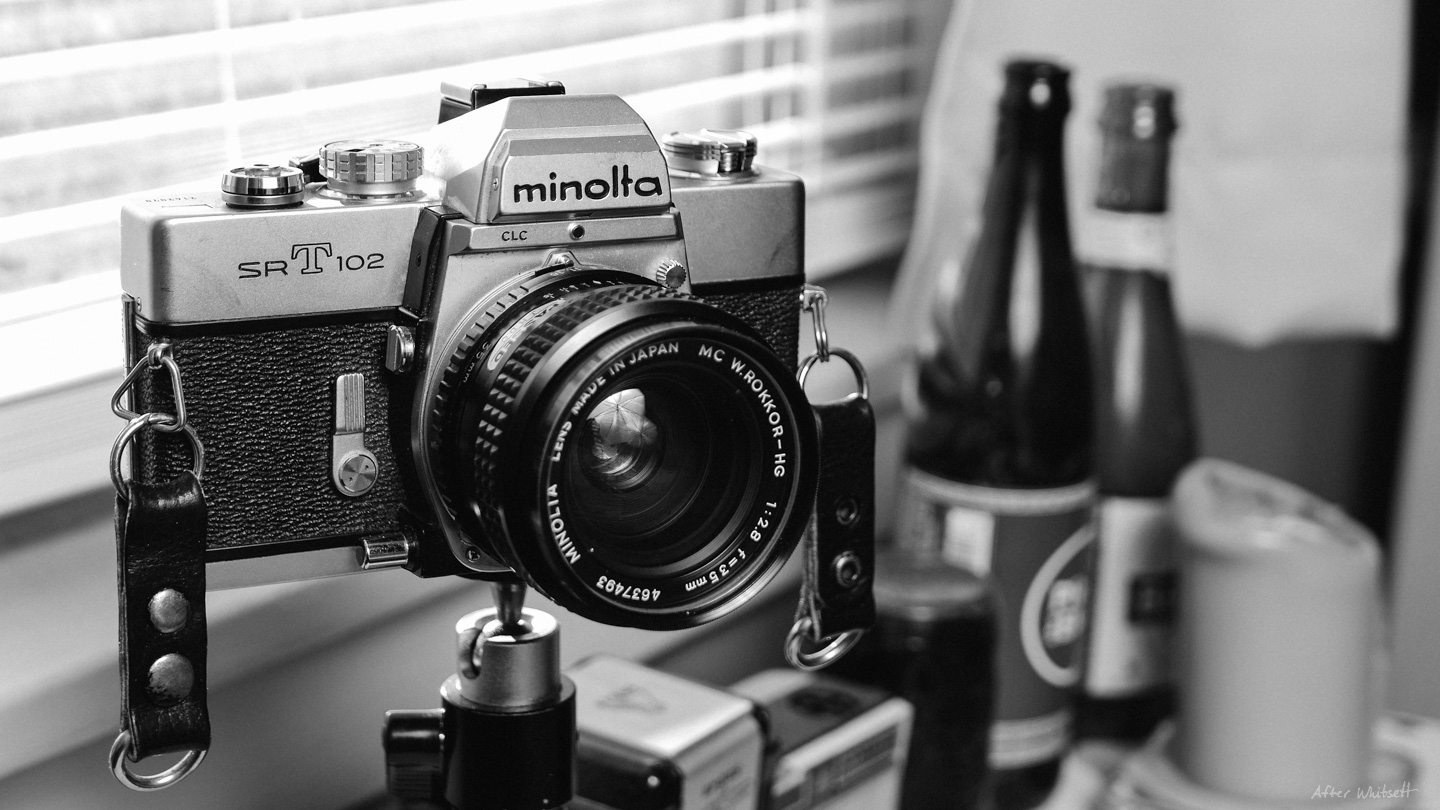
I digress into fantasy at this point, but in summary, I encourage every photographer out there to try this experiment and have fun with it. For now, I’ll be using my LX100 in “Hard Mode” and carrying my Minolta SRT102 more often. Until the new Minolta comes out, why not just do the real thing? As they say, #staybrokeshootfilm.
![]()


James
February 4, 2020 at 5:44 am
I love this post. And the DOOM reference.
Dave Carulli
February 4, 2020 at 8:54 am
Thanks so much James! I am loving the hockey references and images scattered across Casual Photophile’s articles. I sense there’s also a Pens/Bruins rivalry among writers too?
James
February 4, 2020 at 10:35 am
Jeb’s a Pens fan. I’m from Boston. It actually hurt me to edit his latest post when I saw Sid the Kid’s name. Should’ve been a “Chara slapshot” IMO. 😉
Dave Carulli
February 4, 2020 at 10:54 am
I was born and raised in Pittsburgh and grew up watching Lemieux and Jagr so you know where I stand on this debate. 😂
Thanks for commenting and for running my favorite photography blog out there! Cheers!